Creating a cleanroom is a meticulous process that requires a lot of careful planning. Whether you’re working in pharmaceuticals, biotechnology, semiconductors, or any other industry that requires a controlled environment, the design of this space is integral to successful outcomes. Here’s a simplified cleanroom checklist to guide you through the important steps of planning and design.
1. Determine Cleanroom Classification
Choosing the correct cleanroom classification is the first step, as it limits and defines the rest of the design process. If you are in a regulated industry, finding out the rules that govern your industry is the first step to figuring out what ISO cleanroom classification is necessary. Depending on what the cleanroom is being used for, the guidelines should inform you of the classification, or at least the minimum classification, necessary to reach compliance.
For example, if you need to build a medical device manufacturing cleanroom for tools that make direct contact with the inside of the body, such as surgical tools, then you will likely require an ISO 5 cleanroom. Packaging such tools, however, may require a much less strict environment, such as ISO 7 or ISO 8.
ISO Classifications
Here are a few of some common ISO cleanroom classifications, as well as what they may be used for.
- ISO 5/Class 100: Used in the pharmaceutical industry (filling rooms), food and beverage industry (aseptic processing), and semiconductor manufacturing (wafer chips, photolithography).
- ISO 6/Class 1,000: Used in optical manufacturing, aerospace, and more.
- ISO 7/Class 10,000: Used in the automotive industry and biotechnology.
- ISO 8/Class 100,000: Often used in packaging rooms for industries of all kinds.
Please keep in mind that specific cleanroom classes are not necessarily tied to specific industries, as many different industries use a variety of cleanroom classifications, depending on their exact application.
Typically speaking, higher ISO classes (lower numerical values) mean stricter cleanliness levels, and this, as you might imagine, requires more advanced technology. As a result, stricter cleanrooms cost more money, both to construct them and to maintain and operate them. It’s important to keep this in mind when determining exactly what cleanroom classification you need.
Regulations
The best first step in determining what cleanroom classification you need is to check the relevant regulations themselves. (If you’re having trouble figuring out how to move forward at this stage, it may be best to speak with an expert. Contact Allied Cleanrooms to figure out what classification best suits your project.)
Some of the most common regulations in the United States are from the FDA (Food and Drug Administration), USP (United States Pharmacopeia), and GMP (Good Manufacturing Practice) and cGMP (Current Good Manufacturing Practice) guidelines.
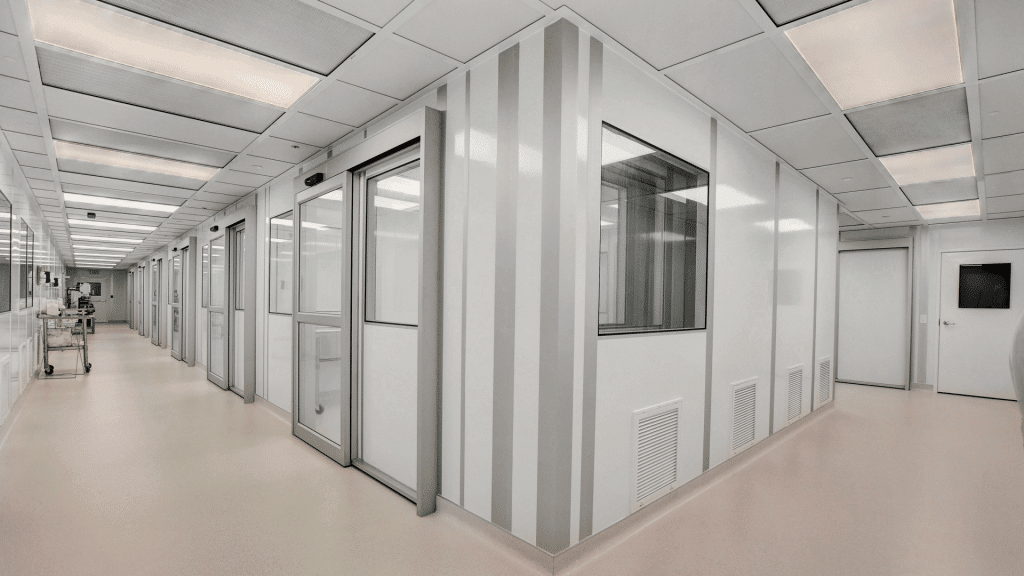
2. Plan the Layout
Next, create a detailed floor plan that includes:
- Entry and exit points.
- Workflow paths for materials and personnel.
- Locations for gowning areas, clean zones, and storage.
- Emergency exits and safety features.
3. Choose Flooring and Wall Materials
Then, select the appropriate flooring and wall materials based on your cleanroom’s application.
There are many flooring materials to choose from, including vinyl, epoxy, and more. For walls, fiberglass reinforced plastic (FRP) is often used, as well as aluminum, melamine, and vinyl.
Generally speaking, floor and wall materials should be easy to clean and non-porous (so particles cannot accumulate there). You may also need to add some coving to help with this as well.
If static electricity is a concern (as it is in semiconductor cleanrooms), anti-static flooring may be used to prevent it from affecting electrical parts. Some walls also may need to be chemically-resistant, which can be accommodated as well.

4. Design the HVAC System
Next up is the HVAC system. Depending on the cleanroom classification, you will need to figure out the following. (This is by no means an exhaustive list.)
- Air change rates and how many HEPA/ULPA filters you will need based on your cleanroom classification and layout.
- Heat load from processes, equipment, and personnel (to make sure it isn’t too hot or cold in the space).
- How to use air returns and other techniques to create proper ventilation and pressure control.
5. Incorporate Windows, Fixtures, and Other Systems
After that, make sure to place windows as needed for visibility or comfort. They might be beneficial when clients come to visit the facilities, and your personnel might also like to see outside.
Plan also for necessary sinks, safety stations, and interlock systems. Sinks for handwashing can go near entry points. Eyewash stations and safety showers can be installed where needed. Also, decide where you would like interlock systems for extra protection. (An interlock system prevents two doors from being open at the same time.)

6. Plan for Utilities and Services
Then, ensure that the cleanroom is equipped for all necessary utilities and services. This includes electrical, plumbing, and water supply. Additionally, be sure to install piping for any gases used in your operations.
7. Consider the Host Building (Where You Will Add the Cleanroom) and Plan for Future Expansion
Finally, consider the space where you would like to add the cleanroom. What are the characteristics of the building? Can it provide proper structural support for the cleanroom? Will there be enough space for HVAC equipment and ductwork? All these questions must be addressed and answered.
Additionally, you may want to consider your future needs in relation to the host building. Be sure that there is enough space to expand your facilities if it should be required. Going with modular cleanrooms allows for quick expansion, relocation, and reconfiguration, so this may be worth your consideration if you need long-term flexibility.

Cleanroom Checklist: Final Considerations
Any successful project will require extensive planning. By following this cleanroom checklist, you can get started on a design that meets your operational needs and requirements. Remember to consider every detail, from cleanroom classification to material selection and HVAC system design in order to create the best workspace possible.